How To Edit Photos Like A Professional; Step By Step Guide

In this era of social media, people are crazy about taking pictures and posting them online on their social media. A good photo is all about taking a picture in perfect light and with perfect angels. The other part is about editing the pictures to enhance the quality and give an eye catching effect to a picture.
If you are new to photography and photo editing journey this article is going to be helpful for you and help you to edit photos like a professional. I’m going to share with you a 10-step beginner photo editing workflow that is going to be easy to implement and it’s going to get your photos looking really great in no time at all. Through a couple of decades of photo editing, I’ve learned there are certain fundamentals that need to be followed for pretty much any genre of photography to process those photos and get them looking great.
you can also read how to enhance photos in Remini web 2024 .
Here are those fundamentals I’m going to share with you here!
Remini is the AI software that I personally consider to be the best photo editor for beginner photographers. If you are using something different that’s absolutely fine because the basic principles of editing are almost the same for every editing software.
Before going to editing photos keep in mind these principles.
- Have a good idea of what you want to achieve.
- Set your camera up to take RAW pictures.
- Take photos with a good angel.
Guide to edit photos like a professional in a easy way
Here are the key points you need to follow.
1: Set exposure
2: Set Dynamic Range
3: Set Contrast
4: Color Balance
5:Saturation
6: Cropping
1: Exposure
We are going to start with the most basic principle of improving your photos when you are editing your photos and that is correcting your exposure. Exposure refers to how bright or darker the image is. During this process, we ask ourselves what is important (object) in that photograph.
So, increase the exposure by just grabbing the exposure slider and as we brighten up you can see that you get a much better image. But, by doing that we may lose some details in the background. If you just wanted to make basic adjustments, just going with one slider exposure is going to correct very nicely.
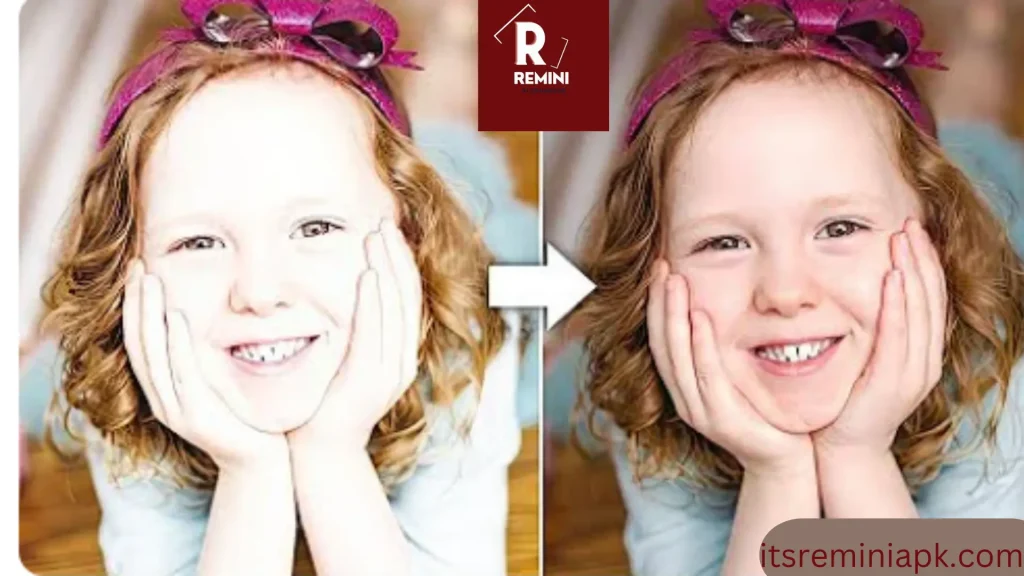
Sometimes, your image may be too bright and you need to bring the exposure down. But, if your images are dark, you will be bringing the exposure slide up.
2: Dynamic Range
My recommendation for the second part of your photo editing process is to control what we call the dynamic range again it’s a scary term but all it is referring to is just making sure you have got details in shadows and details in your highlights.
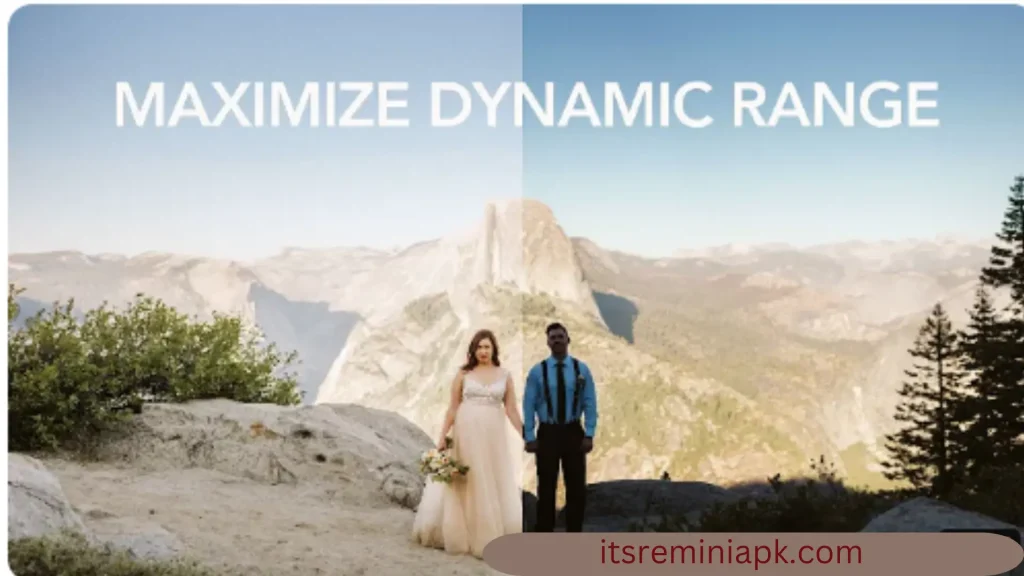
Just grab the slider because all the information in the photo is in its shadow and as we move that slide from the middle up. In this way, we will brighten up the details in the photo. How Far you take these sliders is entirely up to you. How do you want to reach a nice balance between keeping things natural and also keeping the attention where you want to in the photo!
3: Contrast
For the third component of photo editing, I would recommend adjusting contrast. So, let’s suppose we have adjusted the exposure slightly and by playing around with the shadows and highlights, we are now really able to get the level of contrast we would like.

There is a slider in editing software called smart contrast. If you push that slide all the way to the right. You will see a marked difference in the photo. Adjusting contrast in the photo is a necessary process as it adjusts all the major details and gives the photo a more natural and realistic look.
4: Color balance
The fourth thing we are going to look at in our processing is the color balance. Color balance refers to the tones that are supposed to be neutral rendered as neutral and getting the rest of the colors to look as accurate as they should.
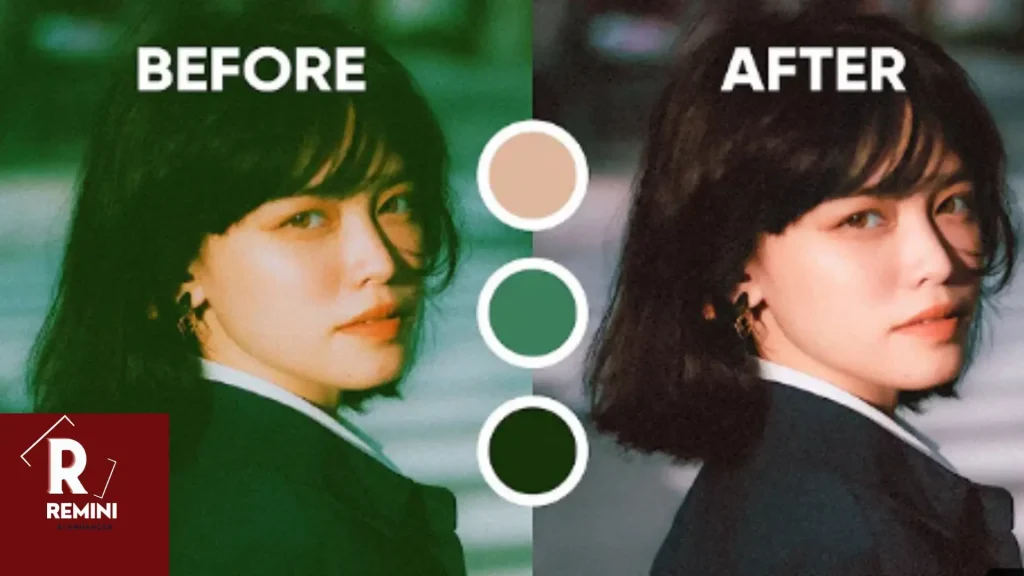
You can adjust colors by adjusting the temperature slider in your software.
5: Saturation
Sometimes, when you bring up the temperature slide the photos will become over-saturated. Getting your saturation on point is the next step in your photo editing process. Adjust the saturation slide a little bit to adjust the colors in the photo.
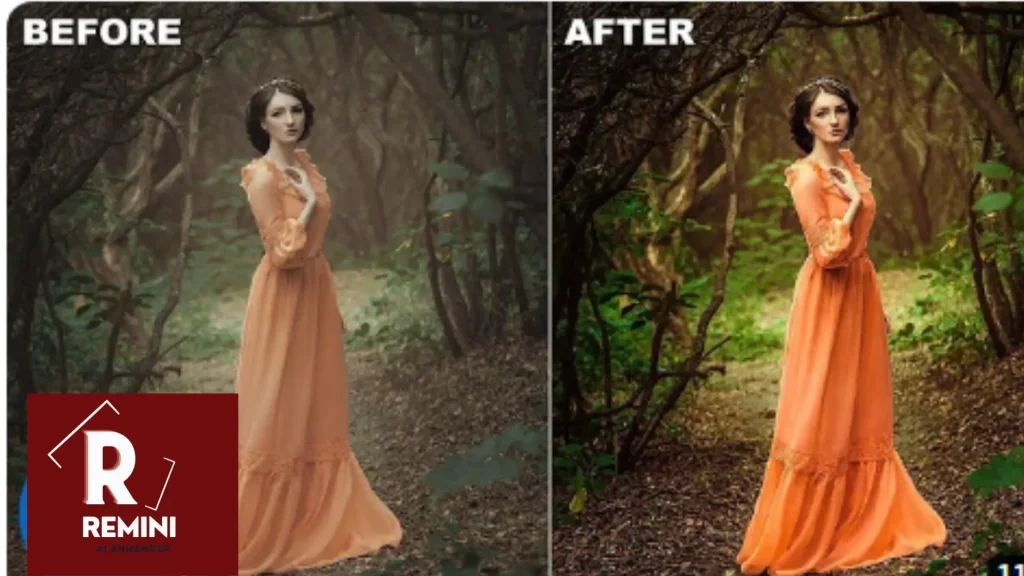
Colors and saturation work parallelly. I will suggest you adjust both the colors and saturation slide according to your eye comfort level.
6: Cropping photos
Cropping a photo means cutting unwanted objects or setting the position of the object according to your desire. It makes a better photo.
Have you heard advice from a photography expert that you should always get the framing right in the camera that fills the frame and that cropping is a bad practice in this article? I’m going to Buck the trend and give you five reasons why you should include cropping in Your photographic tricks.
Let’s start by discussing aspect ratios and what they mean so we’re all on the same page.
An aspect ratio is the relationship between the width and the height of a photo. such as four and three called 4:3 or 4×3 these aren’t measurements like 4 cm to 3 cm they’re just generic equal units of measurement. Most cameras use 3 to 2 for the aspect ratio of their sensors but some cameras like micro 43 have a 4:3 ratio. Some cameras can even have square sensors described as 1: by the way.
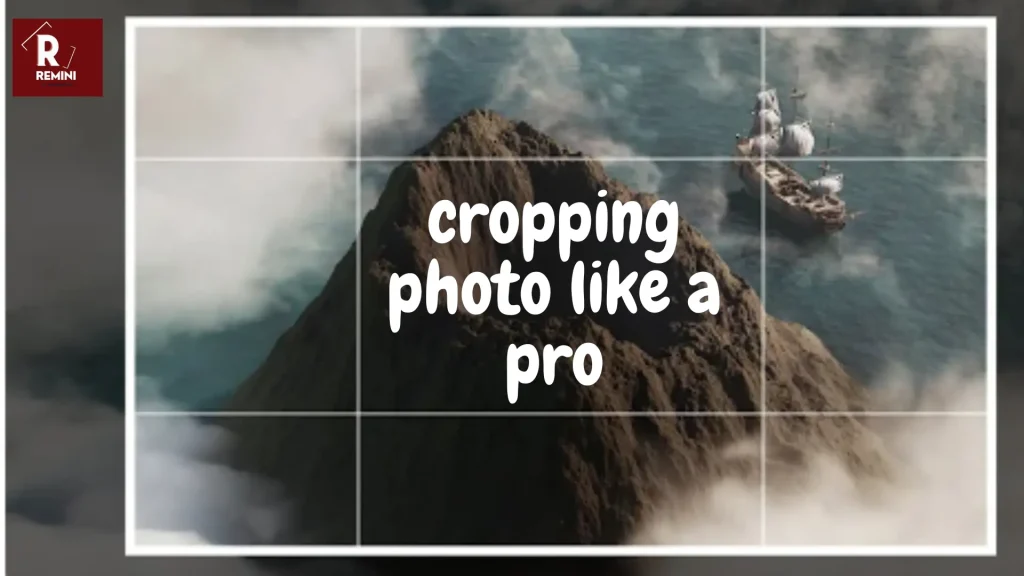
Your lens doesn’t project those shapes into your camera. Almost all lenses project what’s called an image circle into your camera and your sensor reads its shape out of that image circle. on top of the sensor having an aspect ratio, you can crop your own ratio out of the photo in post-processing or even add many together to create a new aspect ratio using the Panorama technique, like in this photo which ends up 4: one out of several 2 to 3s or video is often shot or cropped to 16×9 got it.
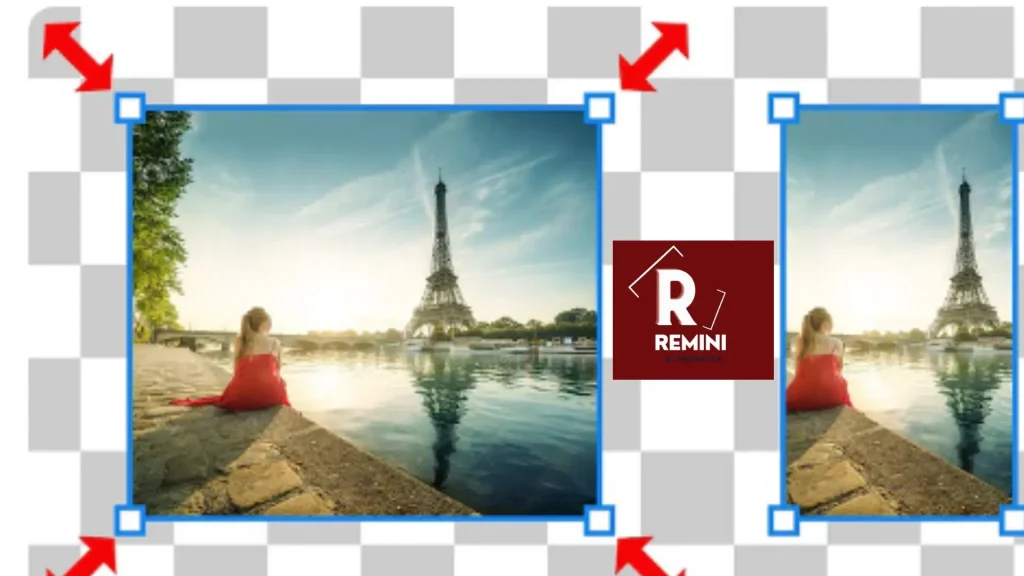
Now let’s look at five reasons why you should crop your photos. First and most obvious if your final photo is more artistic or better because you cropped it then cropped it. I call this cropping for composition, where cropping your photo into a new aspect ratio or orientation either portrait or landscape just makes the photo better.
There’s no rule anywhere that says that the original aspect ratio is the right one. Some photos might look best in four to five 4 to 3 or 3:1. use your skills and Ingenuity to get the best final result.
7: Save And Share
Now the final step is to save that edited photo in your phone gallery. Share that fully enhanced high quality photo with your friends and social media platforms.
final thoughts
Photography is an art. Click raw and well defined photos. It is easy to edit raw photos as it is more convenient to apply filters and other techniques to get a masterpiece. The editing process will become easier and more convenient after reading this article. Here is the overview of this article.
Set the brightness of your photo.
Adjust the shadows and highlights.
Adjust the contrast in photo.
Adjust colors and saturation of your photo according to your comfort level, as these both work parallelly
Cropping a photo will make the image overall look better.
Follow these steps and get a masterpiece.


